
網路活動
網站取得letsencrypt免費SSL憑證教學
一.前言
為因應大眾對個人資料保護要求、及避免資料傳輸過程被有心人士攔截利用,目前各大網站在傳輸敏感性資料時,大都已採用HTTPS的加密連線,以保護資料傳遞的安全。雖然僅供HTTPS加密所使用的憑證,每年所需的費用不高,但對於一般流量不大的網站,長期下來也是一筆負擔。因此,在兼顧資料安全及金錢負擔的狀況下,Let's Encrypt所提供的免費SSL憑證即是一個不錯的選擇。本篇文章,會教你如何手動為自己的網站申請SSL憑證及基本設定。
二.示範說明
三.申請Let's Encrypt憑證
| # cd /usr/ports/devel/git/ && make install clean |
| # pkg install git |
| # git clone https://github.com/letsencrypt/letsencrypt |
| 備註:Git指令會在你目前執行的目錄中,產生一個「letsencrypt」目錄,存放Let's Encrypt專案的所有程式碼 |
| # cd letsencrypt # ./letsencrypt-auto --debug certonly --webroot --email xxx@xxx.com.tw -w /usr/local/www/tech.idv.tw -d tech.idv.tw -d www.tech.idv.tw |
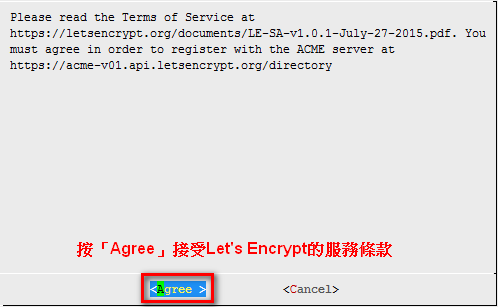
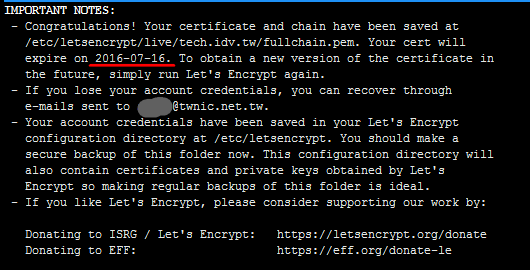
說明:
|


四、 設定NGINX及連線測試
| # vi /usr/local/etc/nginx/nginx.conf |
| server { listen 80; server_name tech.idv.tw www.tech.idv.tw; add_header Strict-Transport-Security "max-age=31536000"; #時間設定為365天,以秒為單位 return 301 https://$server_name$request_uri; } server { ### 設定憑證的路徑 ### 設定支援的協定及Cipher ### 啟用SSL快取 ### 啟用OCSP stapling } |
說明:
|
| # /usr/local/etc/rc.d/nginx restart |
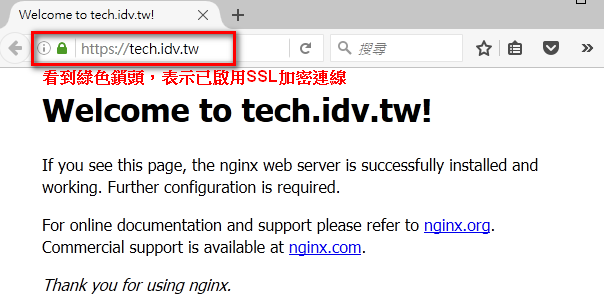
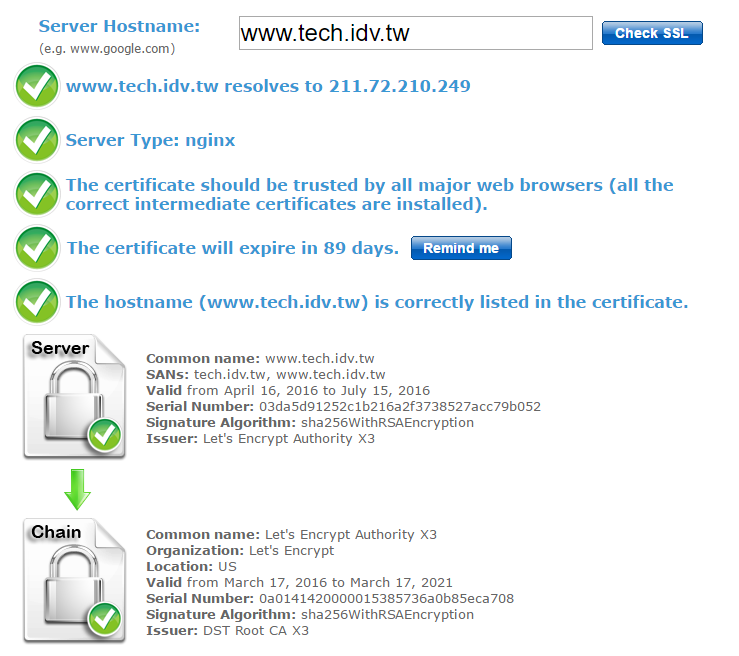
點擊「綠色鎖頭」,即可看到該憑證內容

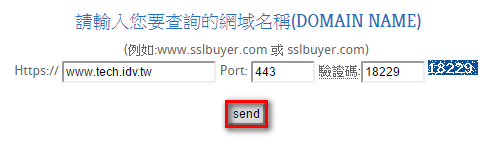
線上測試SSL憑證


點選【開始使用】

輸入你要檢測的網域名稱後,按【send】
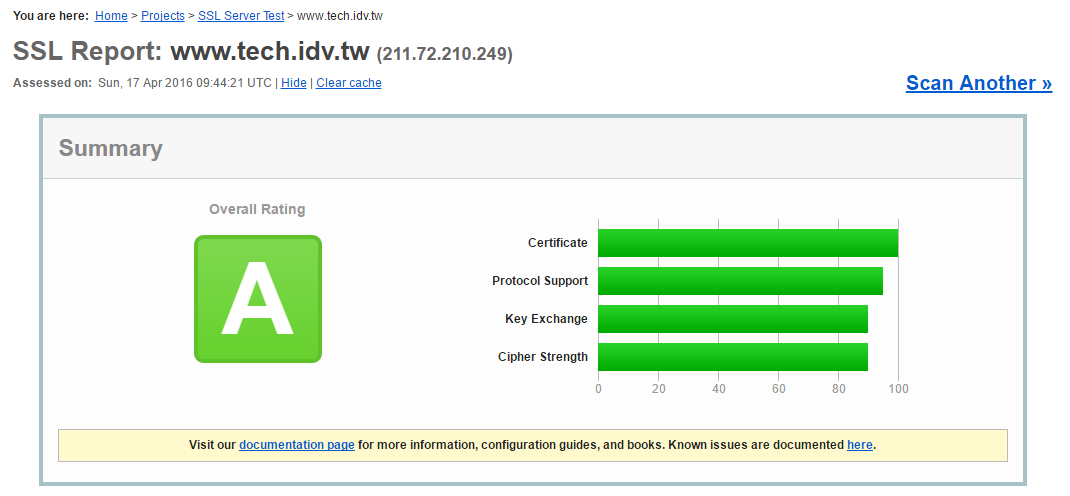
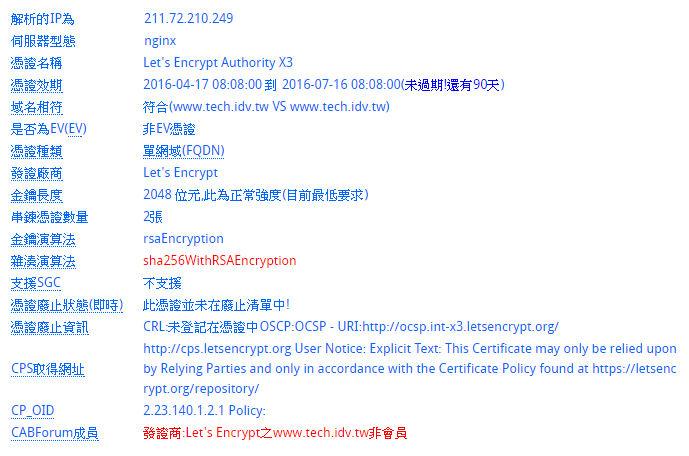
顯示檢測的結果
設定每兩個月自動更新憑證
| # ~/renew-ssl.sh |
| #!/bin/sh if ! /root/letsencrypt/letsencrypt-auto certonly --renew-by-default --agree-tos --webroot --email xxx@xxx.com.tw -w /usr/local/www/tech.idv.tw -d tech.idv.tw -d www.tech.idv.tw > /var/log/letsencrypt/renew.log 2>&1 ; then echo Automated renewal failed: cat /var/log/letsencrypt/renew.log exit 1 fi /usr/local/etc/rc.d/nginx reload >> /var/log/letsencrypt/renew.log 2>&1 |
| # chmod u+rwx,go-rwx ~/renew-ssl.sh |
| # crontab -e |
| 30 4 1 */2 * /root/renew-ssl.sh |
| 備註:設定每兩個月的一號凌晨四點半更新憑證 |